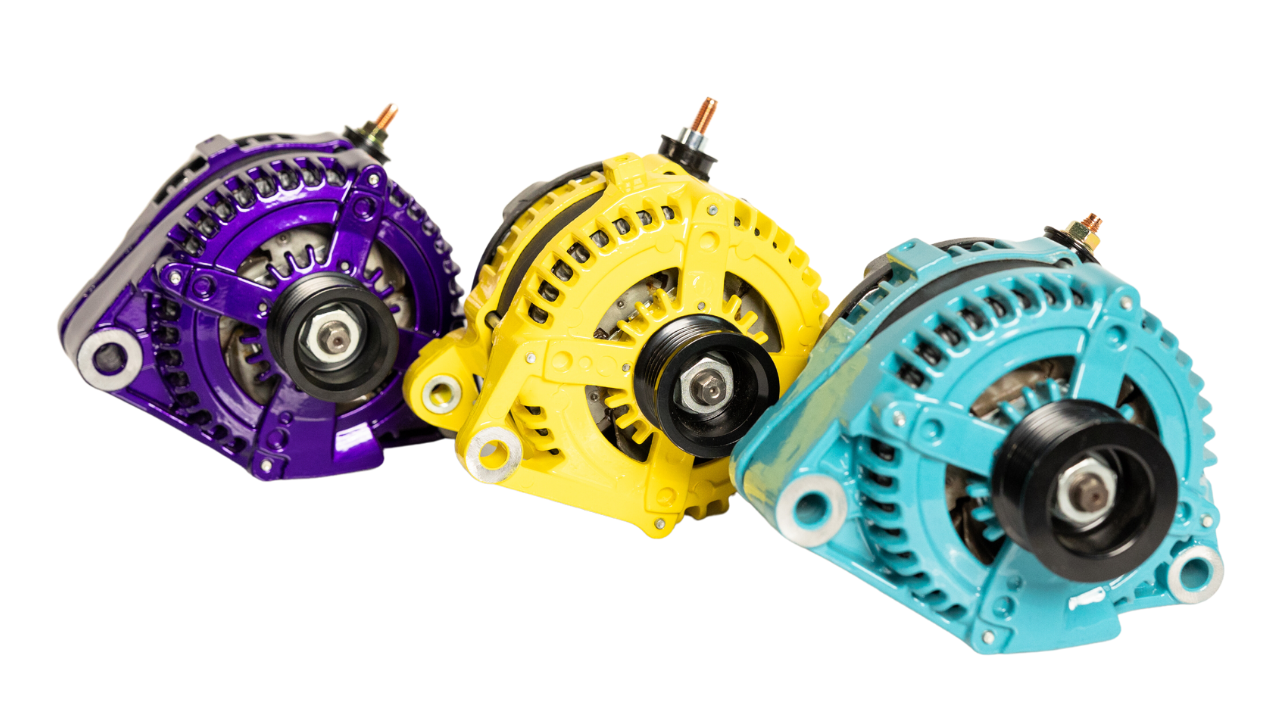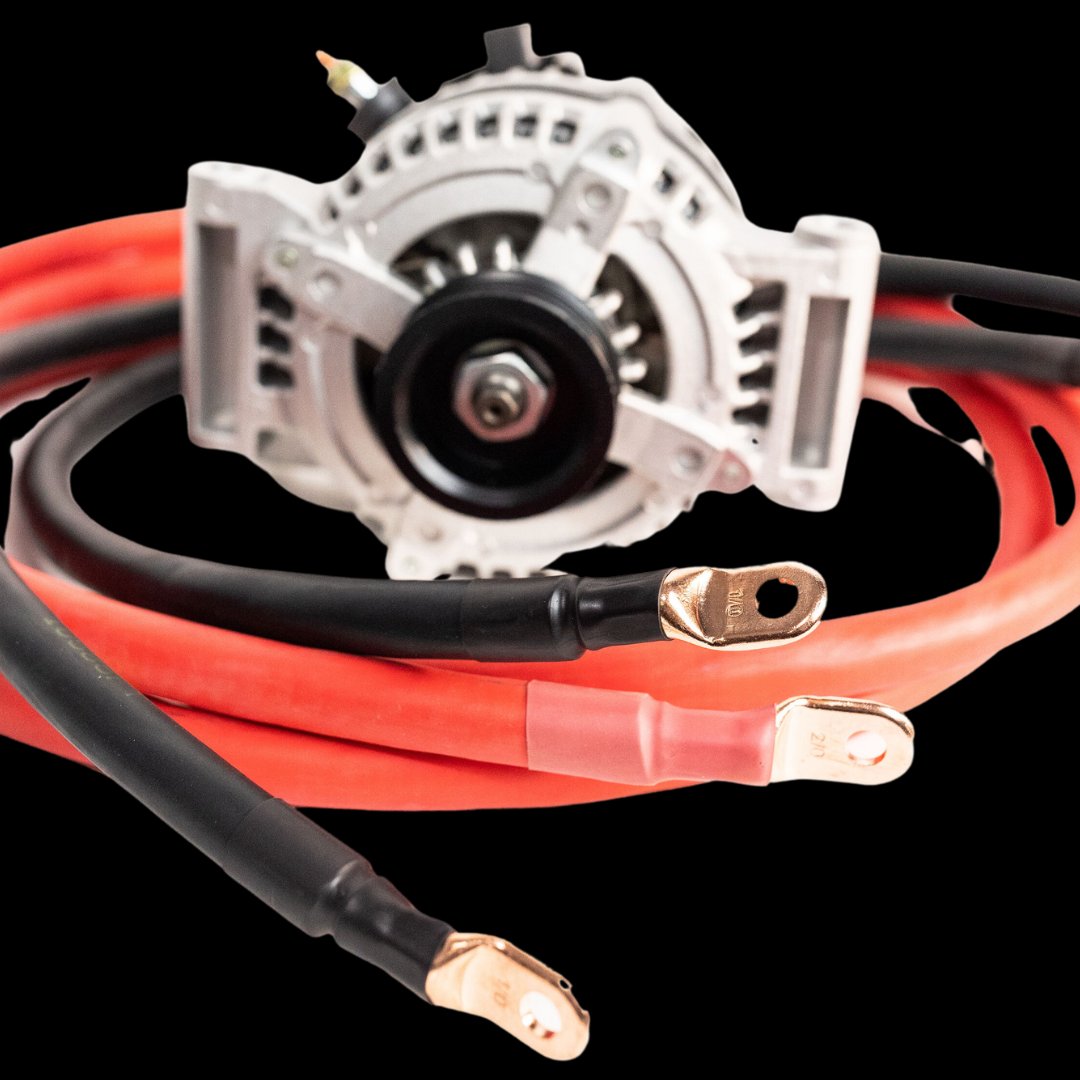

POWER UP WITH THE BEST
HIGH OUTPUT ALTERNATORS
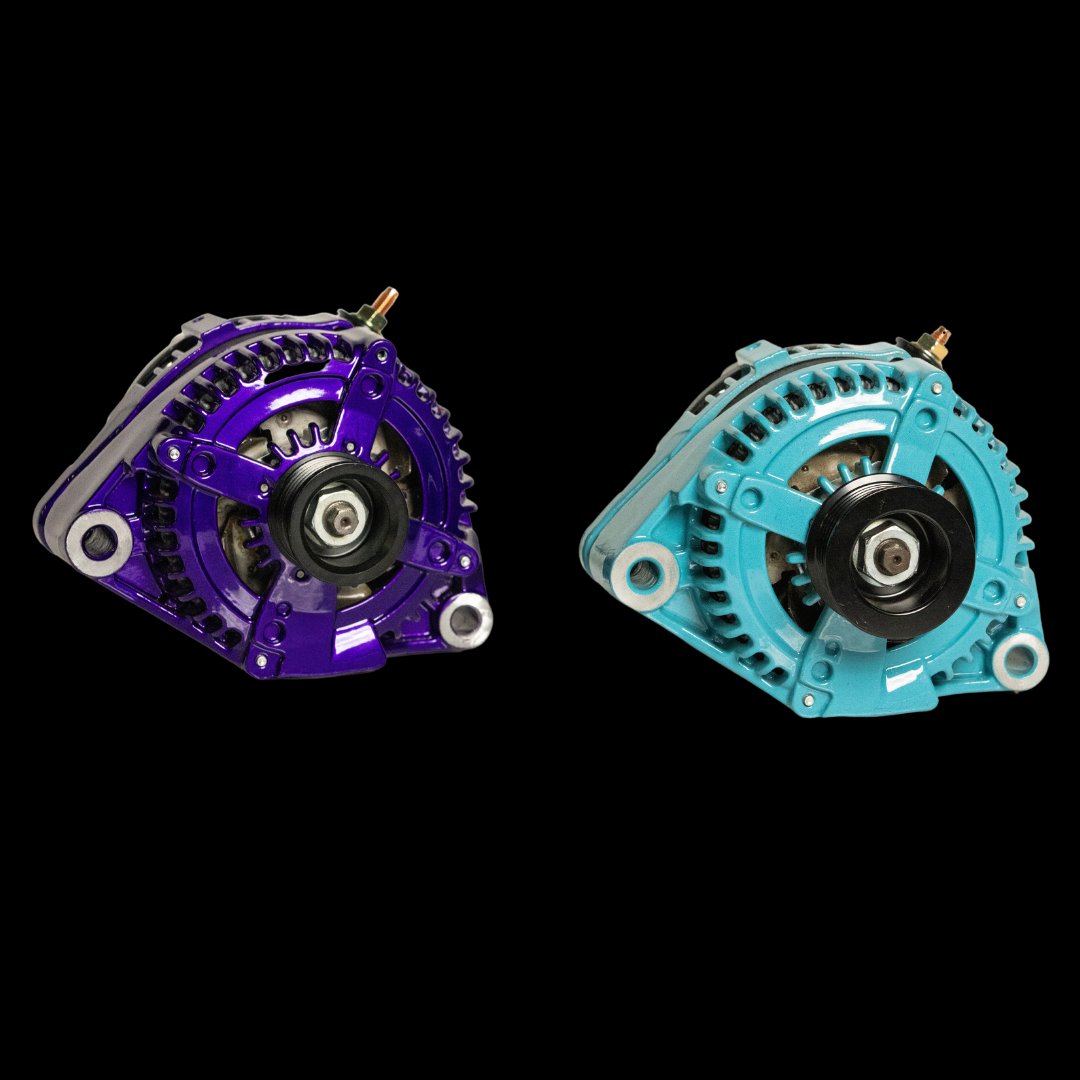
POWER UP WITH THE BEST
HIGH OUTPUT ALTERNATORS
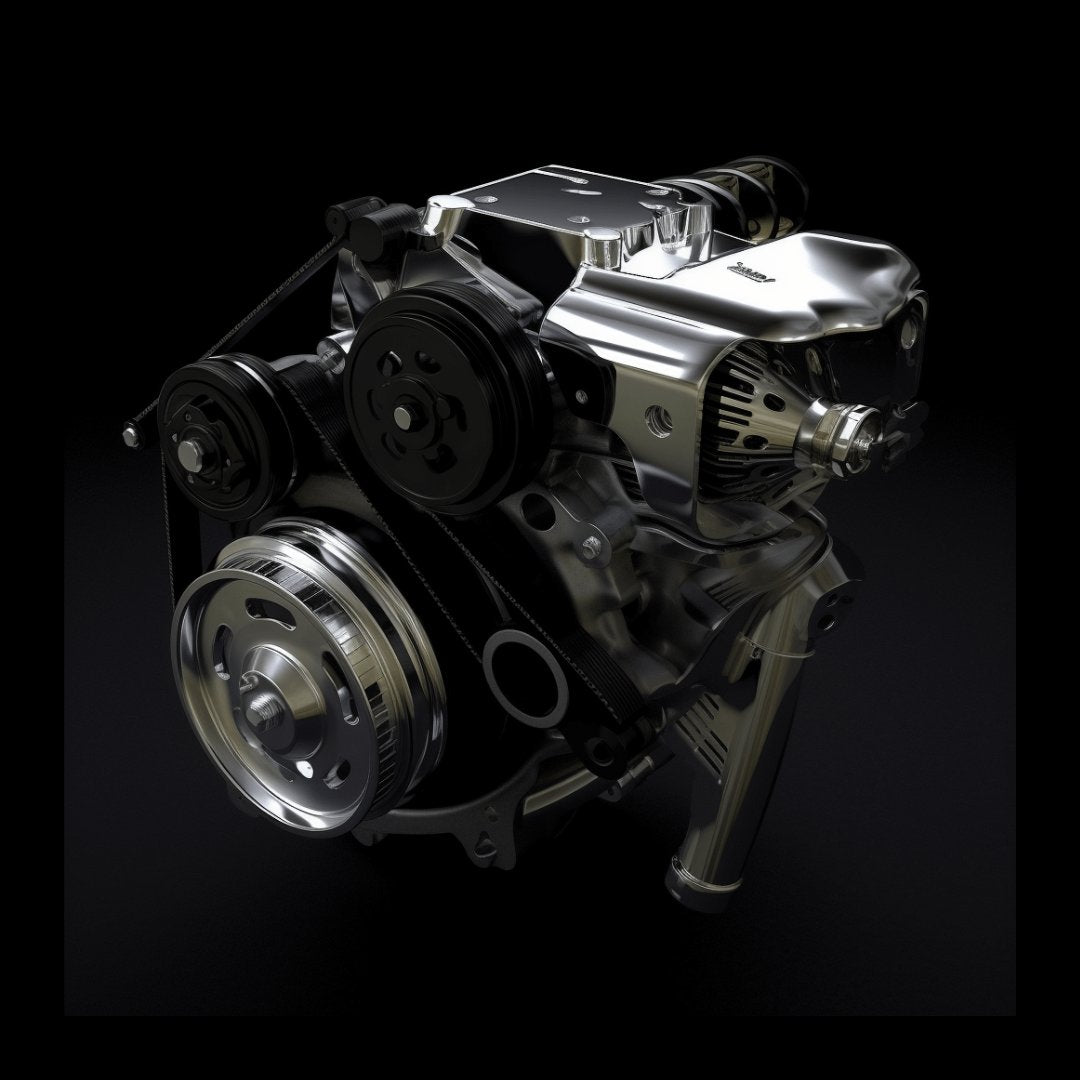
HIGH OUTPUT ALTERNATORS
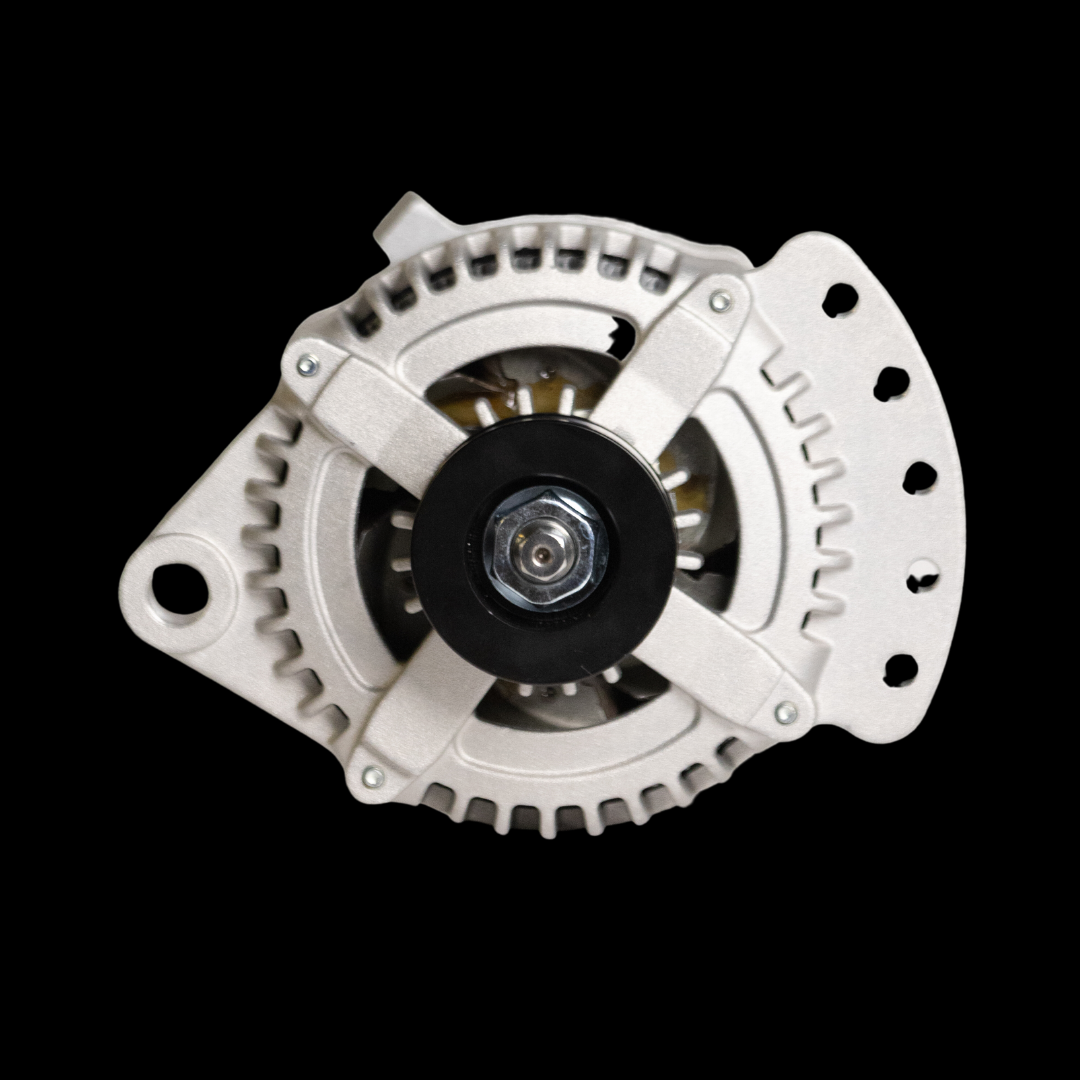
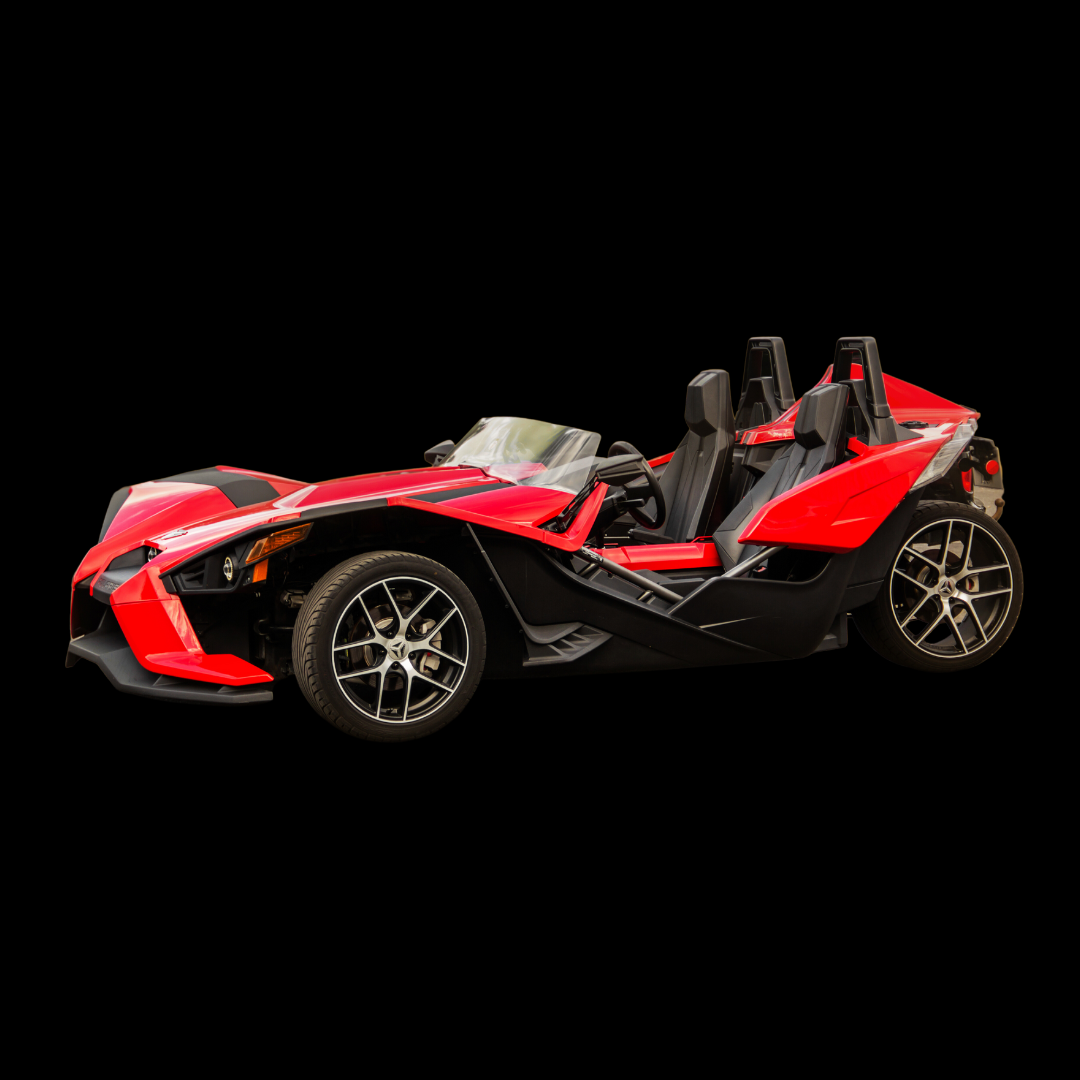
Select Your Vehicle Below