2010-chevrolet-express-pasajeros-5-3l-250-320-370-400amp-high-output-alternator

2010 Chevrolet Express Pasajeros 5.3L 250-320-370-400amp High Output Alternator

Most JS Alternators are custom built to order and typically take 5-15 business days to be built and shipped.

We offer free shipping in the United States. Orders ship in approximately 5-15 business days, sometimes sooner. Alternators that require a custom bracket can take 10-25 business days. If for some reason parts are on back order, we will notify you, but this is not common.

Fitment:

This is a direct fit high-output alternator for the 2010 Chevrolet Express Pasajeros 5.3L. Being a direct fit, this alternator fits directly into your stock alternator location.

Plug:

This high-output alternator comes with a factory style plug so that your OEM plug will plug directly into the alternator. Therefore, with an OEM style regulator, it will have a factory voltage set point.

NOTE: If you require charging at a certain voltage setpoint, we offer a selection of different voltage regulators that you will need to purchase with the alternator for it to be installed. View our Regulator Options Here.

Pulley:

This alternator also comes with a smaller pulley, which causes it to spin faster than a larger pulley. This can help the alternator produce its maximum output. With a smaller pulley, it is required to install a 1/2" - 1" shorter belt.

See this Blog Article for assistance in finding the correct shorter belt.

Big 3 Wiring:

When Upgrading to a High-Output Alternator, it is required to upgrade your wiring with the Big 3 Wiring Upgrade Kit. It is recommended to use 1/0 100% copper wires for the upgrade. Our Big 3 Wiring Upgrade Kit is 10% off with a purchase of a JS Alternator; use code BIG3DISCOUNT at checkout.

Learn Why The Big 3 Wiring Upgrade Kit is Required for All High Output Alternators

$349.00
Amperage

REQUIRED Installation Steps: 

(Wear eye protection, remove jewelry/loose items, and allow car to fully cool before starting installation)

  • Batteries must be fully charged before installation.
  • Make sure vehicle is off and engine is cool.
  • Disconnect the negative cable from the battery/batteries.
  • Disconnect all other wiring from the alternator.
  • Remove the belt (note the belt routing before removing).
  • Remove the bracket bolts and original alternator.
  • Mount the new alternator. Typically the original bolts will be used.
  • The belt must be replaced with a .5 to 1-inch shorter belt when installing a high output alternator, unless otherwise specified.
  • Install the new belt. Make sure the routing is correct and the belt is aligned with all pulley grooves.
Connections Of Frame/Body: Clean all metal surface of any paint or rust with a wire brush or die grinder. Use a conductive corrosion inhibitor available at any electrical parts supply store.

Grounding (Uni-body frame warning): Many newer vehicles have “uni-body” or sheet metal frame structures with no traditional “full frame”. Because of seams and adhesive attached body components, additional steps may be required for proper chassis grounding. Choose the location on the sub-frame with the thickest metal possible. If there is lower than spec charging voltage at the battery, move ground connections or add additional ground cables to different frame components.

*** WARNING *** Keep all electrical wiring at least 12” away from heat sources to avoid fire of the cable jacket!

There are THREE Regulator styles. Read each to determine which one your alternator has and read its the included notes:
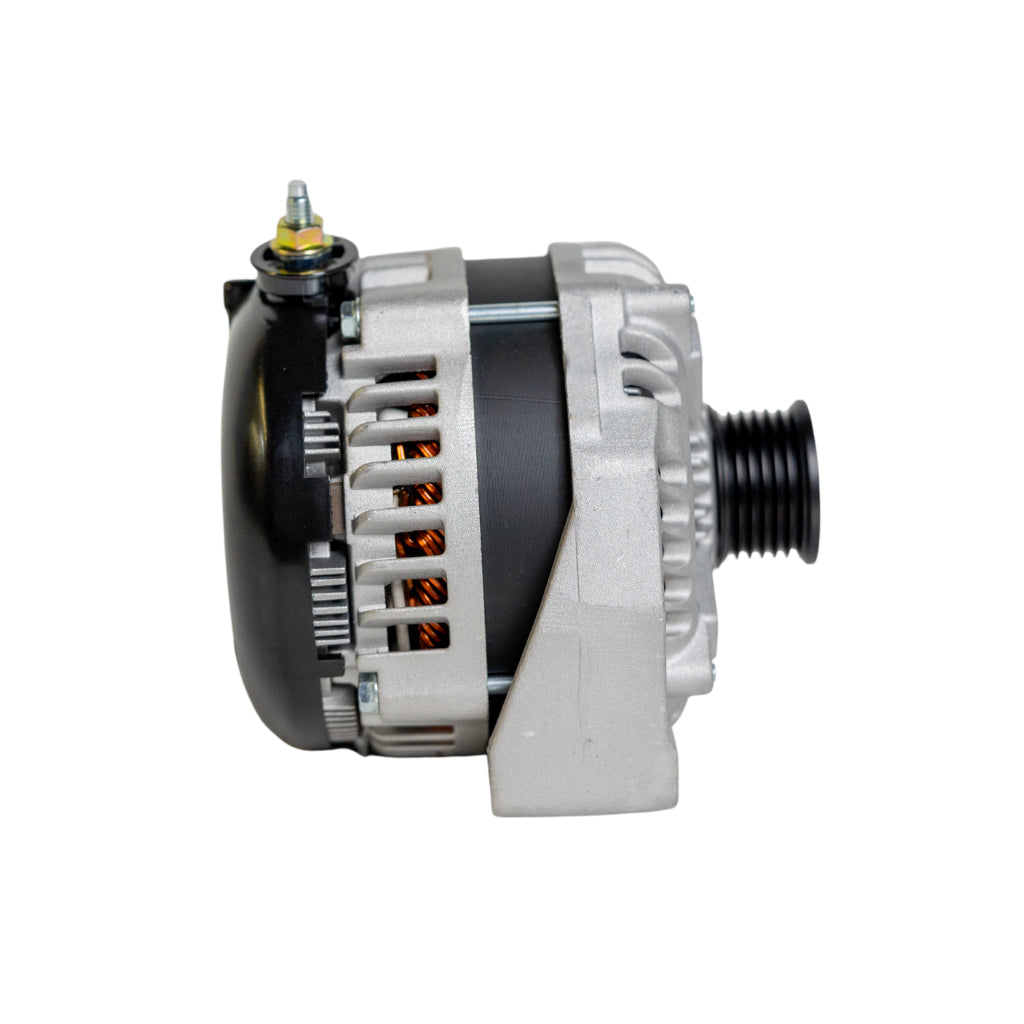
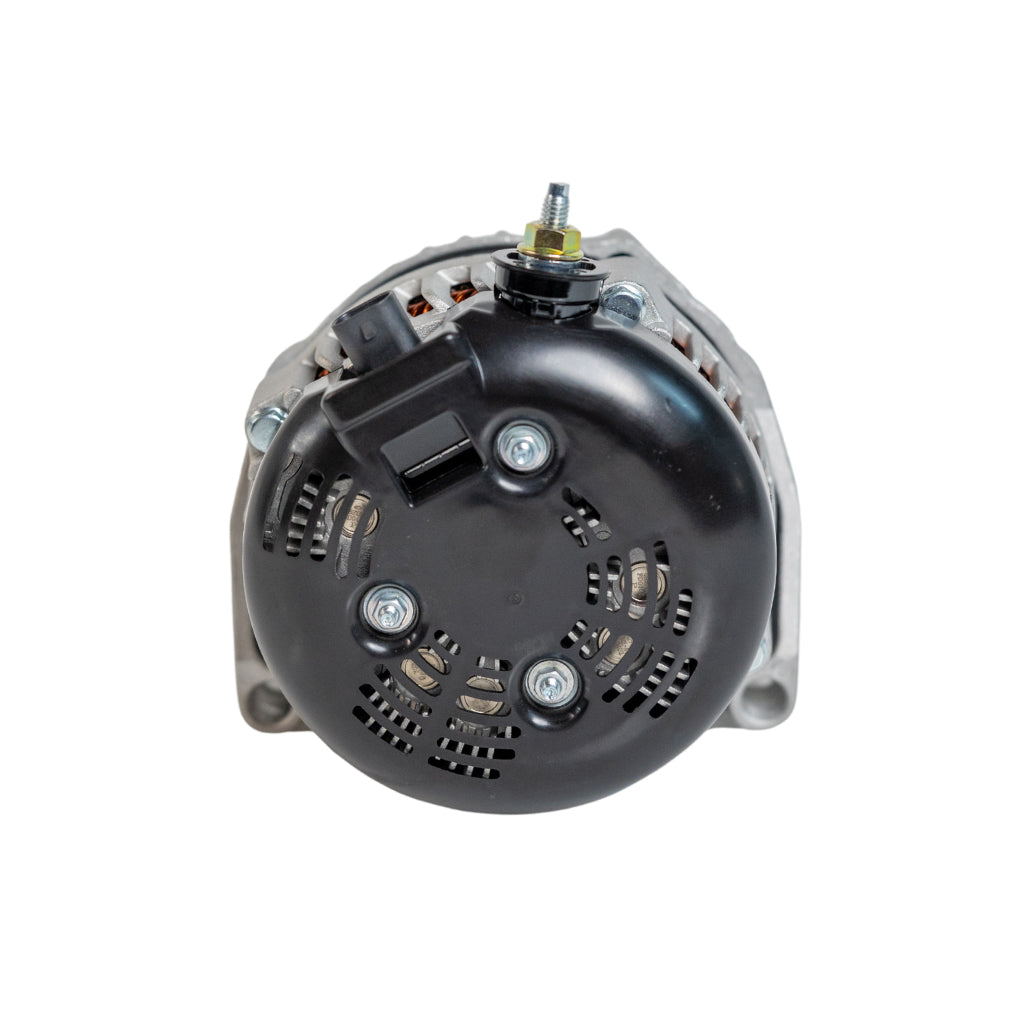
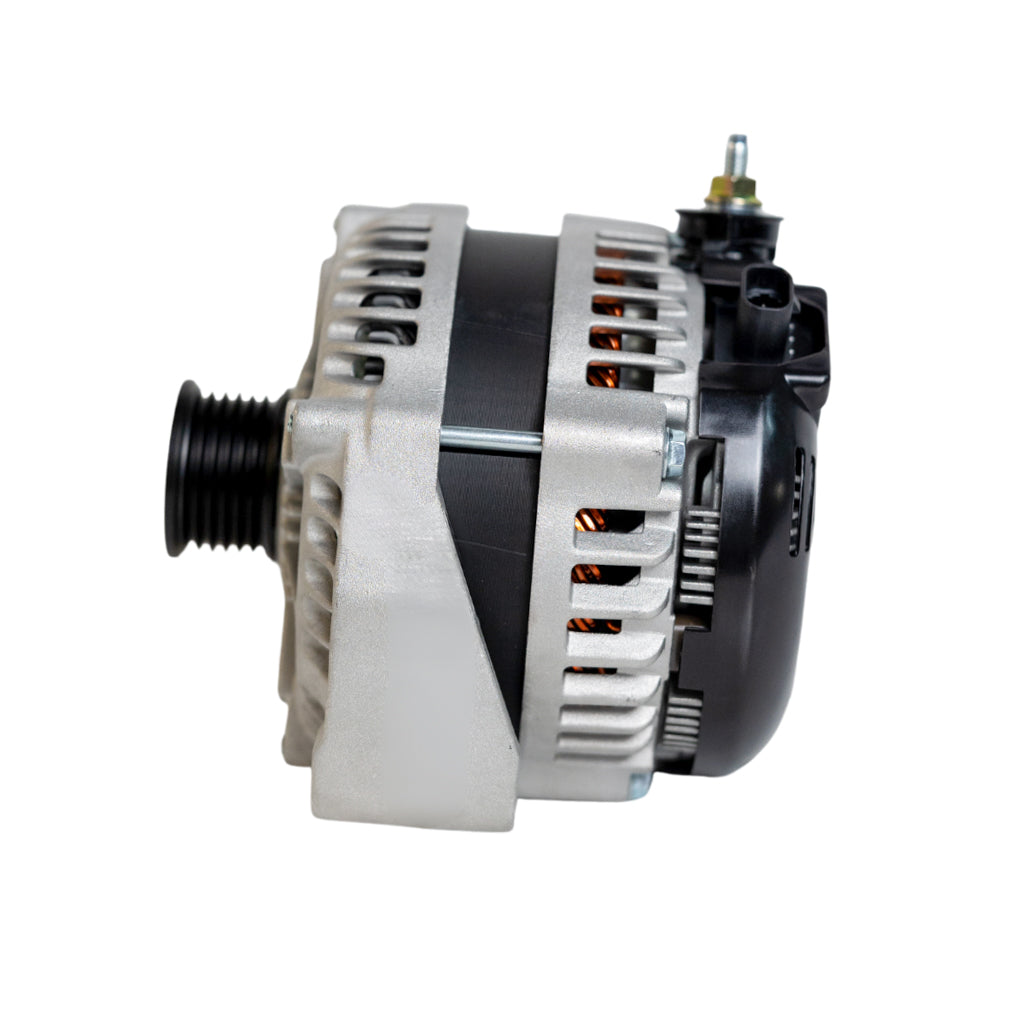
  1. Factory Plug: The factory harness can be plugged into the new regulator. Be sure factory plug is clear of all debris and fully snapped into place in regulator.
  2. Turn On Single Wire Alternators: Follow this step ONLY if we shipped a pigtail plug with your alternator. Connect the excite wire (L) to a 7v to 15v ignition power source and connect the sense wire (S) directly to positive post on alternator. See picture of the Pigtail Plug below. pastedGraphic.pngPIGTAIL PLUG
  3. Self Excite Alternators: Self-exciting or better known as “one wire” alternators will have NO plug on the alternator, and the OEM alternator harness plug will be left disconnected. This type of alternator requires only the positive and negative battery cables to be connected to the alternator to function. These alternators are internally regulated and will turn themselves on and off with engines rotation and regulate their own charging voltage. (This may cause battery light to come on).

Gauges

It is highly recommended you add a dash mounted volt gauge.

  • Connect the battery ground and confirm all other electrical connections are complete.
  • Confirm the belt path is correct and clear of obstacles.
  • Before starting the vehicle confirm that the battery is charged, as starting the vehicle with a discharged battery can damage the alternator.
  • Use a battery charger to charge the battery first if voltage is inadequate.

Ground Path Resistance Test

If resistance is greater than 0.1V confirm the following:

  • Confirm that all paint, anodizing, or rust is removed, and the connections are to bare metal.
  • Make certain all terminals are tight to the wire.
  • Make certain the ground wire is of proper size.

Charge Path Resistance Test

If resistance is greater than 0.1V confirm the following:
  • Make sure alternator charge post nut is tight.
  • Make sure charge wire is proper size.

Battery Recommendation

  • 2000 watts: upgrade main battery, 1 rear battery
  • 3500 watts: upgrade main battery, 1-2 rear batteries
  • 5000 watts: upgrade main battery, 2-3 rear batteries
  • 7500 watts: upgrade main battery, 3-4 rear batteries – 2 alternators
  • 10,000 watts: upgrade main battery, 3-5 rear batteries – 2 alternators

js alternators big 3 wiring upgrade kit installation instructions


Big 3 Wiring

  • The big 3 Wiring upgrade is an ADDITION to your factory wiring.
  • All factory connections need to remain connected.
  • For protection it is recommended to add an in line fuse to the positive wire.
  • All grounds must be cleaned to bear metal and properly secured.

All factory connections need to remain connected.
For protection it is recommended to add an in line fuse to the positive wire. All grounds must be cleaned to bear metal and properly secured.

Positive 1/0 100% Pure Copper Cable

Connect from the positive stud on the alternator to the positive on the battery

Ground 1/0 100% Pure Copper Cable

Connect from alternator mount bolt to frame/chassis

Ground 1/0 100% Pure Copper Cable

Connect from negative on battery to the frame/chassis

Big 3 Wiring Kit With RVC

  • The big 3 Wiring upgrade is an ADDITION to your factory wiring.
  • All factory connections need to remain connected.
  • For protection it is recommended to add an in line fuse to the positive wire.
  • All grounds must be cleaned to bear metal and properly secured.

All factory connections need to remain connected.
For protection it is recommended to add an in line fuse to the positive wire.
All grounds must be cleaned to bear metal and properly secured.
RVC vehicles have a GROUND SENSOR LOOP in which the ground wire will need to be ran through this loop for proper performance.

Positive 1/0 100% Pure Copper Cable

Connect from the positive stud on the alternator to the positive on the battery

Ground 1/0 100% Pure Copper Cable

Connect from alternator mount bolt through the GROUND SENSOR LOOP to the negative on the battery

Ground 1/0 100% Pure Copper Cable

Connect from negative on battery to the frame/chassis

Depending on the application you may need to run a distribution block for better connections (if you have too many upgraded wires that cannot connect directly to the battery terminals).
UNI-BODY FRAMES: Additional steps may be required for proper grounding, You may need to choose a location on the sub-frame with the thickest metal for grounding.

If you have any questions feel free to email or call us as we are happy to help:

  • questions@js-alternators.com
  • (888) 245-3680

Have you been having Power issues?

Dim headlights? Low voltage? Bad sounding audio?

Are you tired of your vehicle's electrical system struggling to meet your demands?

Upgrade to a high-output alternator to ensure a steady and reliable power supply, even under heavy loads.

Eliminate Voltage Drops

Do you experience dimming headlights, flickering interior lights, or a weak audio system? These issues are often caused by a lack of power from your stock alternator. Switching to a high output alternator will provide the necessary voltage to keep all your electrical components running smoothly.

Testimonials

★★★★★

Shout out to JS alternators there the only ones who made a high output for my model car. Without it there’s no way I could run my current system on my stock alternator.

Dylan Morton
★★★★★

I highly recommend JS Alternators The craftsmanship is beautiful and they have great customer service everyone is so friendly and helpful. Fast shipping too. Satisfied customer for life!!!

Shelley Moore
★★★★★

JS alternators got me taken care of with Dual 400 amp illusion violent alts and I'm in love the customer service and quality is amazing..

Brandon Fassbender
★★★★★

Received two Alternators from JS and don't regret one moment of it. They have been great and when playing my system as hard as I can the Alternators have been able to keep up with all the power needed!

Cody F.

Frequently Asked Questions

Orders ship in approximately 5-15 business days, sometimes sooner. Alternators that require a custom bracket can take 10-25 business days. If for some reason parts are on back order, we will notify you, but this is not common. If payments are being made on an order, your order will start processing when the order is placed.

We offer lifetime warranty on alternator labor and a one year warranty on parts. All orders are heavily wrapped for shipping with several layers of big bubble wrap and two layers of boxes along with a Fragile sticker on the box. If you have to ship your alternator back, please be sure you wrap it the same way to prevent further damage. See more details on our warranty page.

Each of our high output alternators come with smaller overdrive pulley. This pulley is made to increase low RPM charging for maximum output. It is custom for the diameter of the overdrive to be less than your factor pulley, depending on the kind of vehicle you own. For this reason, unless otherwise specified, you will need at least a 1/2 inch shorter belt. You can purchase this from any auto parts store. In using the belt and the pulley system, ensure that each part of the pulley system is free of oil or grease, this will help its efficiency.

It is important to make sure that the small regulator plug that is located on the back of the alternator is well plugged in for the correct functionality. Do not forget to plug it in completely, try not to jam the plugs in backwards, and avoid pinching it in order not to create a short. For more information on regulators and wiring see installation instructions.

Our high output alternators come with an overdrive pulley. The pulley is designed to improve low RPM charging so that it yields maximally. Do not change this overdrive pulley out with a larger diameter pulley. When alternator pulley diameter is increased, the output amperage decreases. Changing the pulley will void all warranties

As promised to all our customers, our products are fully tested ensuring their outstanding performance before shipping. In our experience through the years, it is in many cases not the alternator itself. You must ensure you consider a few possible concerns in your troubleshooting – please read the instruction manual thoroughly.

The reason could be one of two things: Either the plug is wired incorrectly or the computer is sensing the higher voltage and causing the battery light to come on even though the alternator is charging properly. Please refer to the instruction manual tab on the website for specific instructions that will help you with wiring. For some older vehicles, the factory style regulator is not available with the hairpin style alternator. This is why your high output alternator will come already “upgraded” with the 15 volt regulator. It will have an oval plug which requires splicing into the factory plug. This is a simple ,fast step and these instructions are detailed for you in the instruction manual.

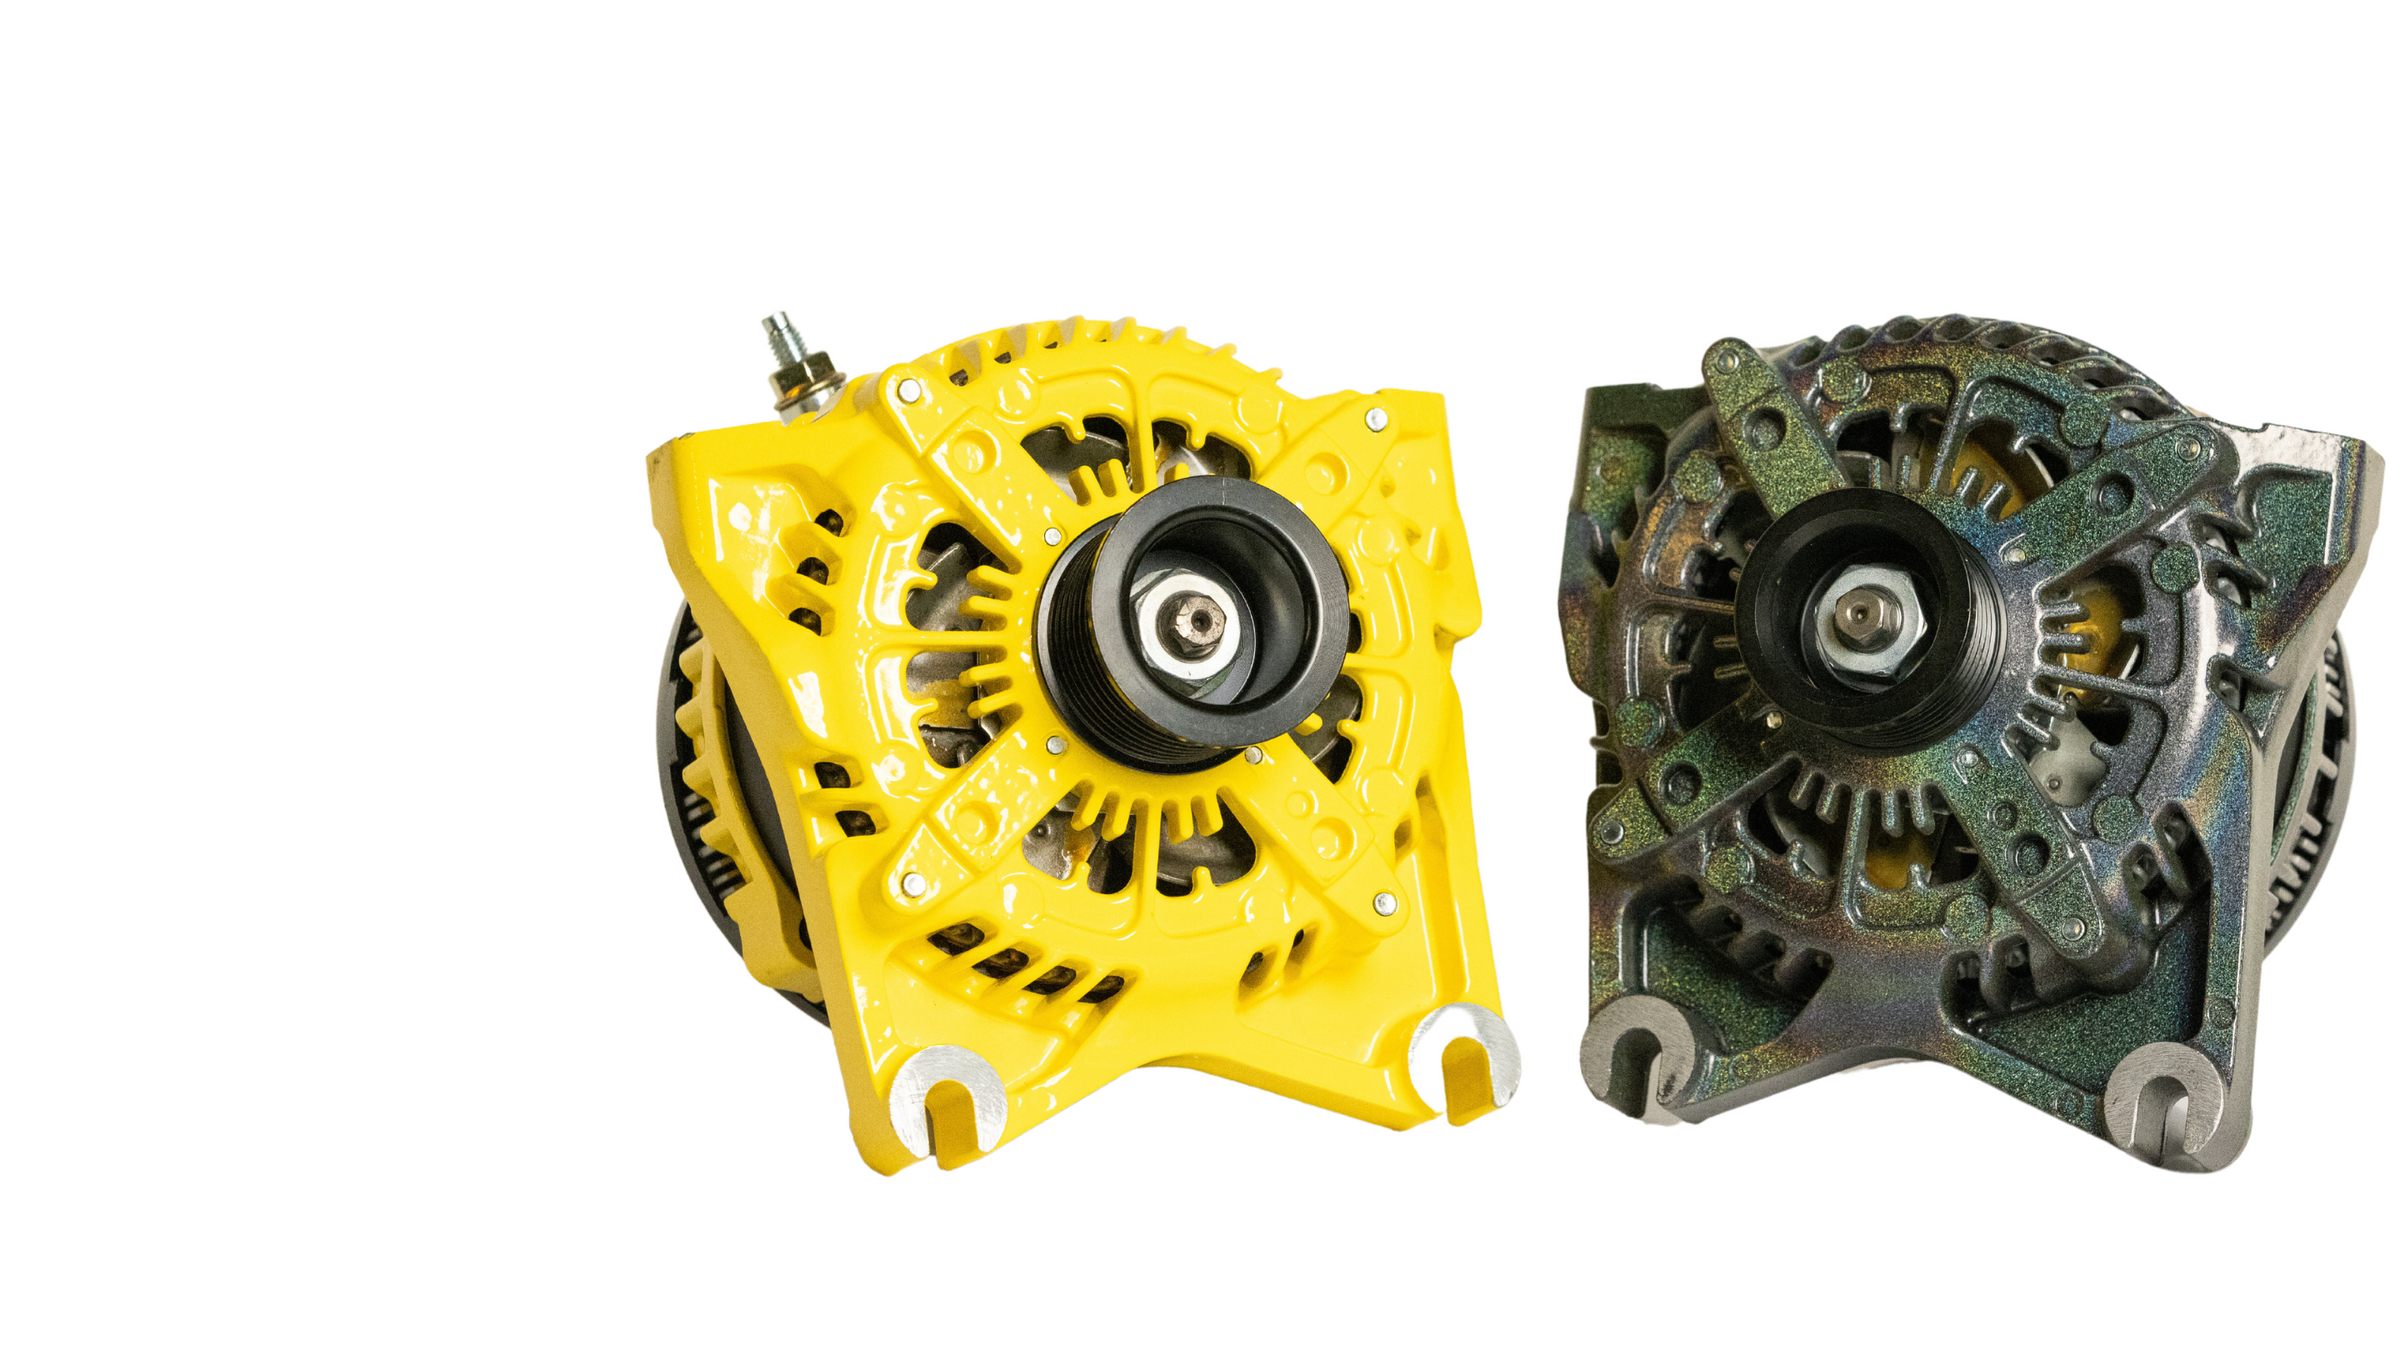
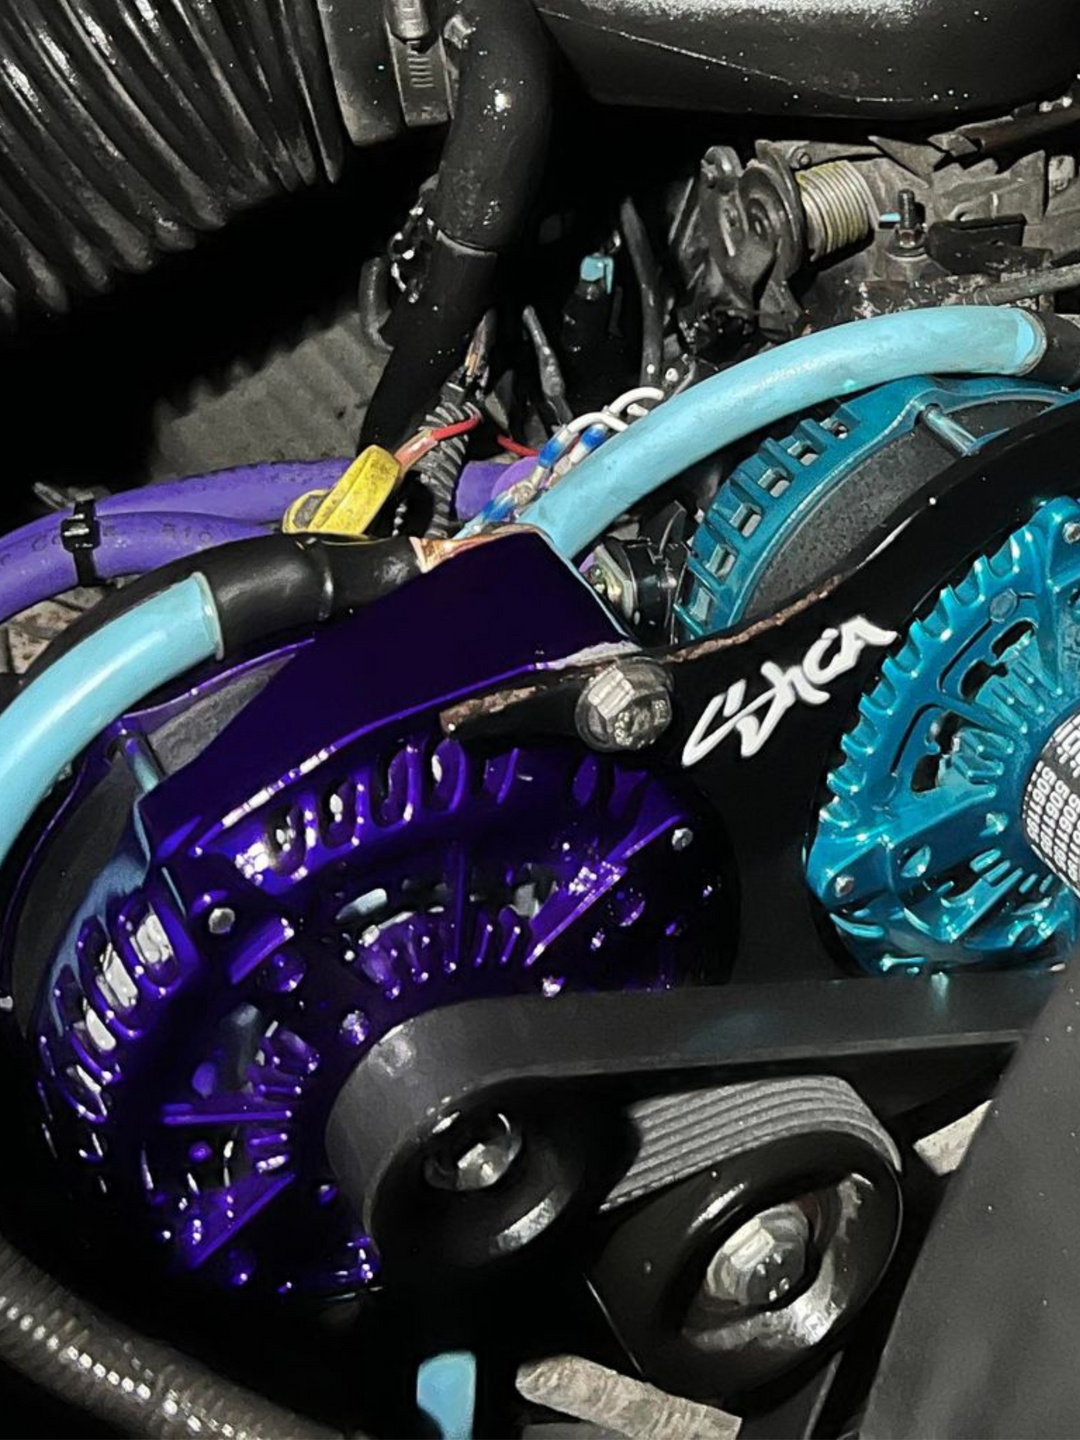
Yes, please visit prismaticpowders.com then scroll to the bottom of the page. Select color match and enter your information. When ordering on the JS Alternators website, select the custom prismatic powdercoating color option, and include the specific color you chose from prismaticpowders.com. There is an additional $10 charge for custom colors, and the custom colors are required to come from prismaticpowders.com

We use your vehicles stock voltage unless requested otherwise.

Didn't find the answer you're looking for?

Email us at questions@js-alternators.com and our team of experts can assist you!