Installation Instructions | High Output JS Alternator Installation
FAILURE TO FOLLOW ALL INSTALL STEPS WILL VOID WARRANTY
REQUIRED Installation Steps: (Wear eye protection, remove jewelry/loose items, and allow car to fully cool before starting installation)
- Batteries must be fully charged before installation.
- Make sure vehicle is off and engine is cool.
- Disconnect the negative cable from the battery/batteries.
- Disconnect all other wiring from the alternator.
- Remove the belt (note the belt routing before removing).
- Remove the bracket bolts and original alternator.
- Mount the new alternator. Typically the original bolts will be used.
- The belt must be replaced with a .5 to 1-inch shorter belt when installing a high output alternator, unless otherwise specified.
- Install the new belt. Make sure the routing is correct and the belt is aligned with all pulley grooves.
Connections Of Frame/Body: Clean all metal surface of any paint or rust with a wire brush or die grinder. Use a conductive corrosion inhibitor available at any electrical parts supply store.
Grounding (Uni-body frame warning): Many newer vehicles have “uni-body” or sheet metal frame structures with no traditional “full frame”. Because of seams and adhesive attached body components, additional steps may be required for proper chassis grounding. Choose the location on the sub-frame with the thickest metal possible. If there is lower than spec charging voltage at the battery, move ground connections or add additional ground cables to different frame components.
*** WARNING *** Keep all electrical wiring at least 12” away from heat sources to avoid fire of the cable jacket!
There are THREE Regulator styles. Read each to determine which one your alternator has and read its the included notes:
- Factory Plug: The factory harness can be plugged into the new regulator. Be sure factory plug is clear of all debris and fully snapped into place in regulator.
-
Turn On Single Wire Alternators: Follow this step ONLY if we shipped a pigtail plug with your alternator. Connect the excite wire (L) to a 7v to 15v ignition power source and connect the sense wire (S) directly to positive post on alternator. See picture of the Pigtail Plug below.
PIGTAIL PLUG
- Self Excite Alternators: Self-exciting or better known as “one wire” alternators will have NO plug on the alternator, and the OEM alternator harness plug will be left disconnected. This type of alternator requires only the positive and negative battery cables to be connected to the alternator to function. These alternators are internally regulated and will turn themselves on and off with engines rotation and regulate their own charging voltage. (This may cause battery light to come on).
Gauges
It is highly recommended you add a dash mounted volt gauge.
- Connect the battery ground and confirm all other electrical connections are complete.
- Confirm the belt path is correct and clear of obstacles.
- Before starting the vehicle confirm that the battery is charged, as starting the vehicle with a discharged battery can damage the alternator.
- Use a battery charger to charge the battery first if voltage is inadequate.
Ground Path Resistance Test
If resistance is greater than 0.1 Ohm confirm the following:
- Confirm that all paint, anodizing, or rust is removed, and the connections are to bare metal.
- Make certain all terminals are tight to the wire.
- Make certain the ground wire is of proper size.
Charge Path Resistance Test
If resistance is greater than 0.1 Ohm confirm the following:
- Make sure alternator charge post nut is tight.
- Make sure charge wire is proper size.
Battery Recommendation
- 2000 watts: upgrade main battery, 1 rear battery
- 3500 watts: upgrade main battery, 1-2 rear batteries
- 5000 watts: upgrade main battery, 2-3 rear batteries
- 7500 watts: upgrade main battery, 3-4 rear batteries – 2 alternators
- 10,000 watts: upgrade main battery, 3-5 rear batteries – 2 alternators
Big 3 Wiring Instructions
Big 3 WiringThe big 3 Wiring upgrade is an ADDITION to your factory wiring. |
|
|
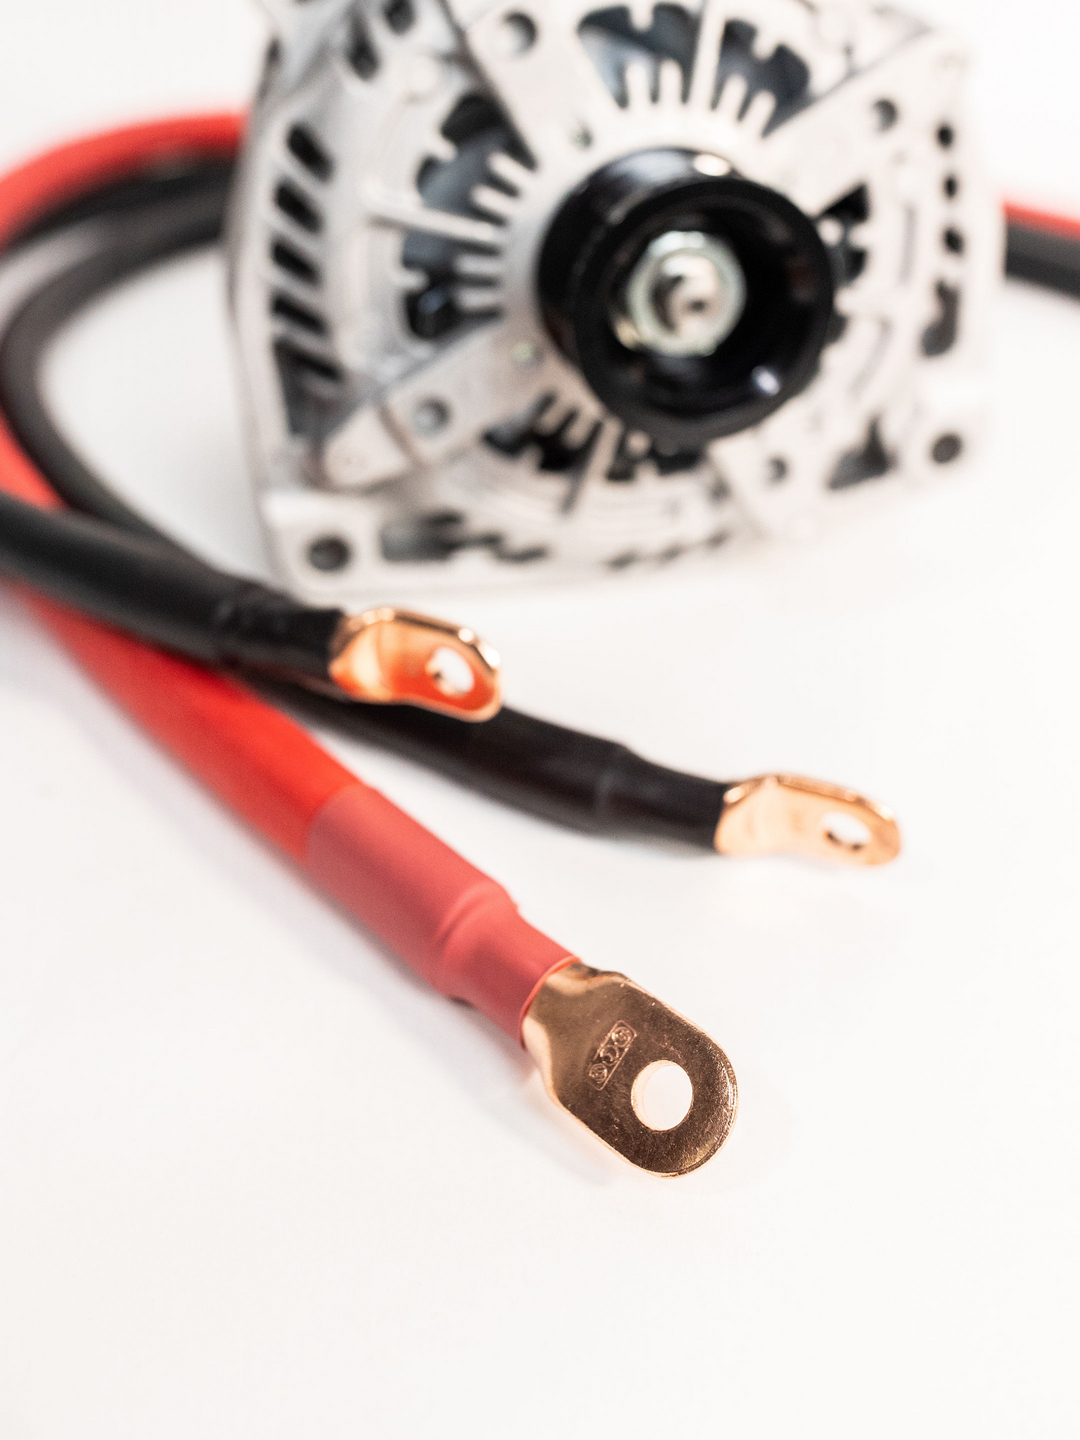
Positive 1/0 100% Pure Copper Cable |
Connect from the positive stud on the alternator to the positive on the battery |
|
Ground 1/0 100% Pure Copper Cable |
Connect from alternator mount bolt to frame/chassis |
|
Ground 1/0 100% Pure Copper Cable |
Connect from negative on battery to the frame/chassis |
Big 3 Wiring Kit With RVCThe big 3 Wiring upgrade is an ADDITION to your factory wiring. |
|
|
Positive 1/0 100% Pure Copper Cable |
Connect from the positive stud on the alternator to the positive on the battery |
|
Ground 1/0 100% Pure Copper Cable |
Connect from alternator mount bolt through the GROUND SENSOR LOOP to the negative on the battery |
|
Ground 1/0 100% Pure Copper Cable |
Connect from negative on battery to the frame/chassis |
|
Depending on the application you may need to run a distribution block for better connections (if you have too many upgraded wires that cannot connect directly to the battery terminals). If you have any questions feel free to email or call us as we are happy to help:
|
|